"I am extremely satisfied with TESUP's products. The quality of their products is top-notch, and they have truly helped me generate my own clean and sustainable energy. I both significantly reduced my electricity bills, and I am also proud to contribute to a greener environment.
- Sarah W. from Texas, US
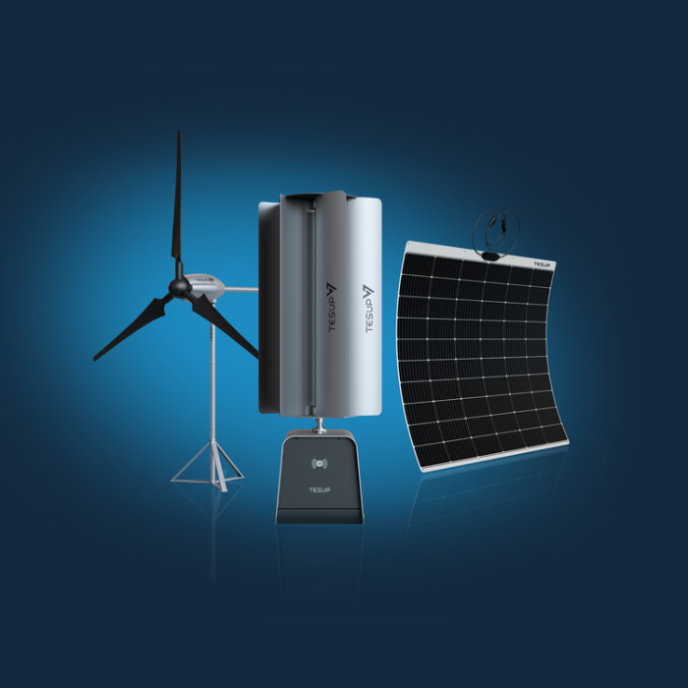
"I purchased a TESUP wind turbine, and I couldn't be happier with the results. H7 is incredibly efficient and has helped me generate a significant amount of energy. I reduced my carbon footprint, as well as the price of my electricity bills. I trust in TESUP’ products completely and I highly recommend them."
- Jake R. from Arizona, US
"I wanted to reduce my carbon footprint and take control of my energy consumption, so I turned to TESUP's FLEX solar panel. It’s a game-changer! Its flexibility has allowed me to install it on my house and our family boat, maximizing my energy generation. I highly recommend the FLEX solar panel to everyone"
- Laura H. from Florida, US